Introduction
Webmin is a web-based tool admins use to manage Linux and Unix systems and servers. The Webmin dashboard allows you to manage user accounts, update and configure your system, view system logs and emails, and perform other administrative tasks.
In this tutorial, we will show you the step-by-step process of installing, configuring, and logging into Webmin on Ubuntu 18.04 and 20.04.
Prerequisites
- A system running Ubuntu 18.04 or Ubuntu 20.04 (learn how to install Ubuntu 18.04 or how to install Ubuntu 20.04)
- A user account with sudo privileges
- Access to the terminal window
- A working network connection
Install Webmin on Ubuntu 20.04 - Step-by-Step
Follow the steps outlined below to install Webmin on Ubuntu. These steps work for both Ubuntu 18.04. (Bionic Beaver) and Ubuntu 20.04. (Focal Fossa).
Step 1: Update Ubuntu Package List
1. In the terminal, run the following command to update the package list:
sudo apt update2. When prompted, enter your administrator password and press Enter.
3. Install the update packages with:
sudo apt upgrade4. Type Y and press Enter to confirm the update.

5. Install dependency packages to help you manage software repositories by using:
sudo apt install software-properties-common apt-transport-https6. Type Y and press Enter when prompted to confirm the installation.
Step 2: Enable Webmin Repository
1. Add Webmin's GPG key with:
sudo wget -q http://www.webmin.com/jcameron-key.asc -O- | sudo apt-key add -
2. Manually add the Webmin repository using:
sudo add-apt-repository "deb [arch=amd64] http://download.webmin.com/download/repository sarge contrib"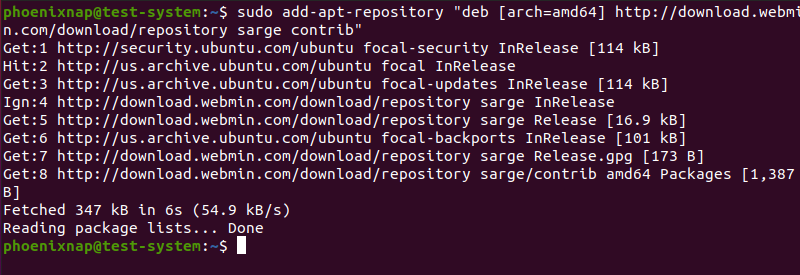
Step 3: Install Webmin on Ubuntu
1. Start the Webmin installation using:
sudo apt install webmin2. When prompted, type Y and press Enter to confirm the installation.
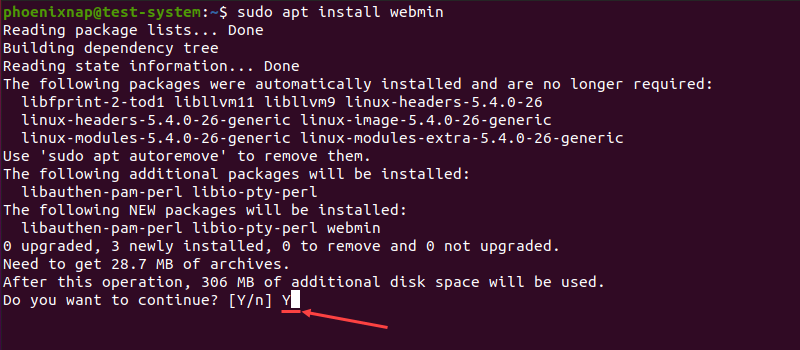
3. Once the installation is complete, check the status of the Webmin service:
sudo systemctl status webmin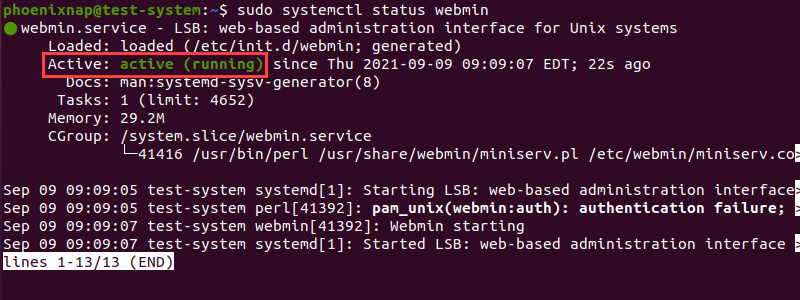
Another method to confirm the installation is successful is to check the installed version of Webmin:
dpkg -l | grep webmin
Step 4: Configure the Firewall
1. Webmin uses the TCP port 10000 by default. Open this port on your firewall by using:
sudo ufw allow 10000/tcp
2. Reload your firewall for the changes to take effect:
sudo ufw reload
Note: The firewall is disabled on Ubuntu by default. If your system's firewall is disabled, enable it with sudo ufw enable.
3. Check the status of your firewall to confirm the changes:
sudo ufw status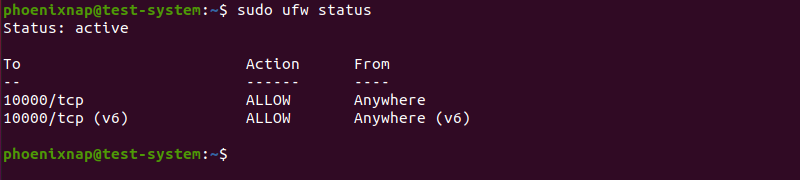
Step 5: Access Webmin on Ubuntu
1. Set the password for the Webmin root user with:
sudo /usr/share/webmin/changepass.pl /etc/webmin root [new password]Note: Setting up a new password this way only works for existing users. You can't use this method to set up new users.
2. Open your Internet browser and enter the following as a web address using your server's IP:
https://[your server's IP]:10000/You can use local or remote server's IP address.
Note: If you still haven't set up a server for Webmin to manage, PhoenixNAP offers a choice of Bare Metal Cloud servers featuring high availability and performance. Start setting up your servers for as little as $0.10/hour!
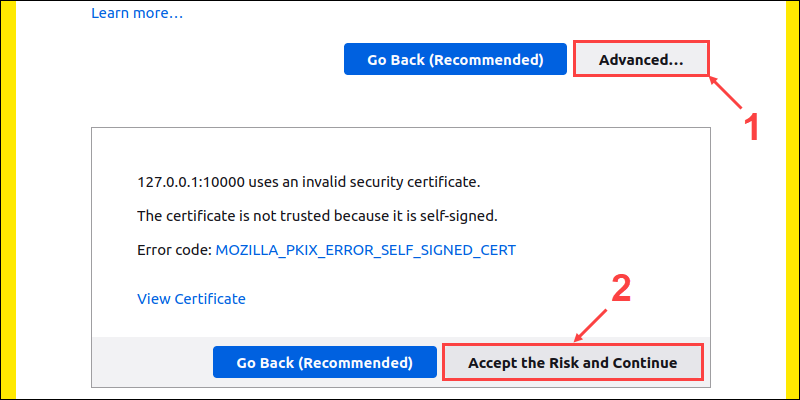
3. Webmin generates its own SSL certificate not recognized by the browser, which causes a page indicating a potential security risk the first time you try to log in.
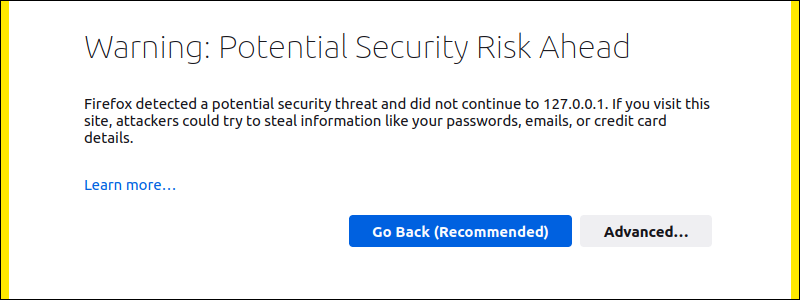
To get through this page, click Advanced..., then Accept the Risk and Continue.
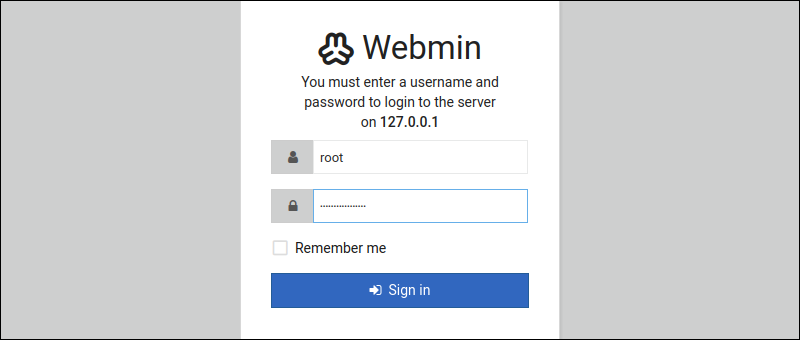
4. Log in using the default username root and the password you set up.
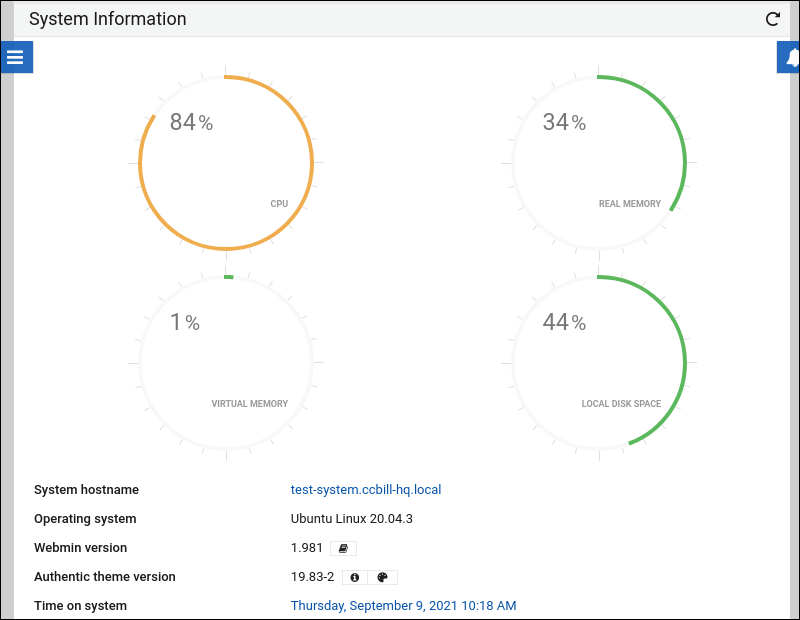
5. Use the Webmin dashboard to review your system information.
Conclusion
Now you know how to install Webmin on Ubuntu 18.04 or 20.04 After following this tutorial, you should have a fully functioning copy of Webmin set up and ready to use.
