Introduction
SQL Workbench/J is not to be confused with MySQL Workbench. SQL Workbench is a tool designed to handle SQL queries no matter which fundamental Database Management System (DBMS) you use.
This tutorial shows you how to install and set up SQL Workbench for PostgreSQL. It includes instructions for a Debian based system (Ubuntu 18.04) as well as Windows, macOS, and Linux GUI.
Prerequisites
Linux:
- Access to a terminal or command line
- A user account with sudo privileges
Windows and macOS:
- Administrator privileges
Install SQL Workbench for Postgres
SQL Workbench helps you manage different database systems without the need to master each of their proprietary tools in turn.
Installing SQL Workbench is a straightforward process that can be completed in a few short steps.
Step 1: Download and Unzip SQL Workbench Distribution Package
Ubuntu 18.04
To download a generic package for all systems, enter the following command in your command line terminal:
sudo wget https://www.sql-workbench.eu/Workbench-Build125-with-optional-libs.zipThe system proceeds to download the zipped package from the official page:

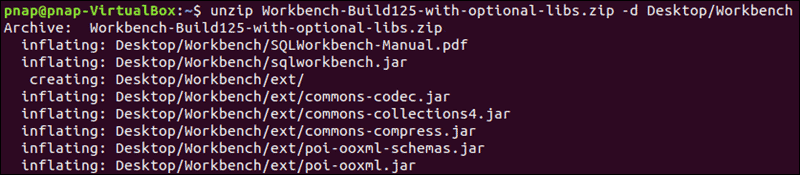
Use a compression tool to unzip the content of the downloaded file and save it to the desired location on your system. The following command saves the extracted files in the Workbench folder on the Desktop:
unzip Workbench-Build125-with-optional-libs.zip -d Desktop/WorkbenchThe output displays the extraction process.
Windows & macOS
Use your browser and access the official website with this link:
https://www.sql workbench.eu/downloads.html
Select your preferred package from the list. The first option provides the most comprehensive bundle.

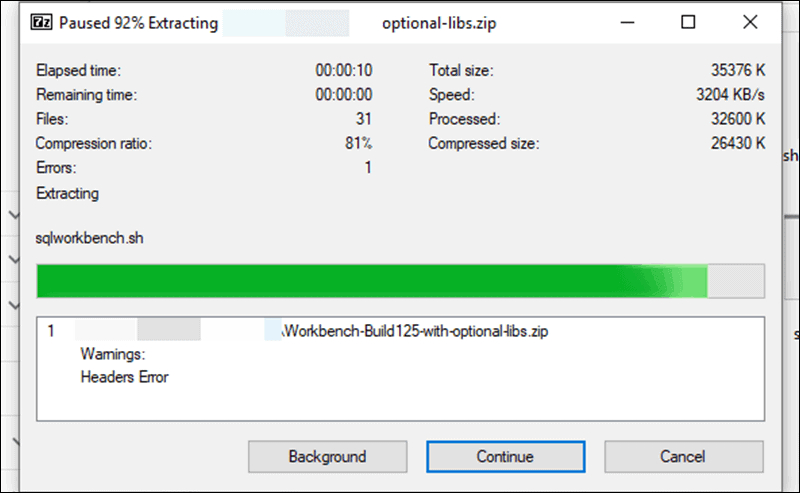
Click and download the file. Right-click the zipped folder and extract the content to a preferred location on your system. In this example, the content was extracted to the Workbench folder on the desktop in Windows.
Step 2: Install Latest Java Version (Optional)
SQL Workbench is based on Java. You need to have at least Java 8 on your system to be able to install and use SQL Workbench. If you already have an up to date version installed, you can skip to Step 3 of the tutorial.
There is no need to download or install Java runtime beforehand. The SQL Workbench package already contains the necessary shell scripts: download_jre.sh and download_jre.cmd. These scripts when executed, automatically download and extract the latest available Java runtime.
Ubuntu 18.04
Use your command terminal to access the folder where you have extracted the SQL Workbench package. In our example, the files are in the Desktop/Workbench folder.
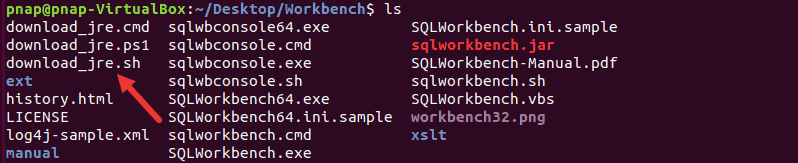
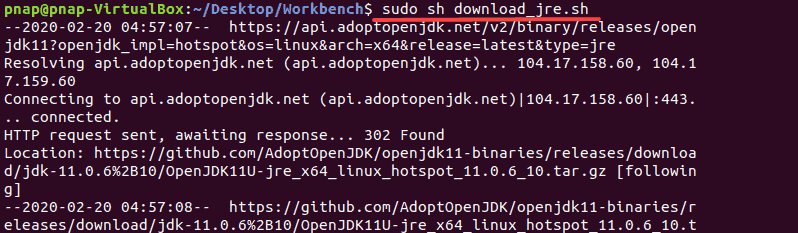
Use the following command to initiate the shell script that downloads and extracts Java runtime:
sudo sh download_jre.shThe system runs the script and installs the latest available Java version.
Windows & macOS
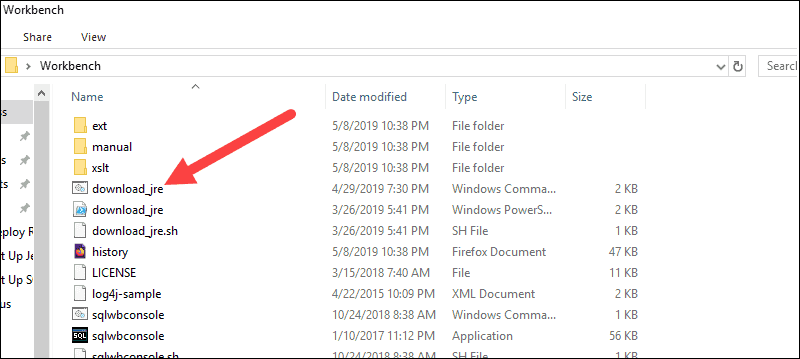
After unpacking the archive, run the download_jre script from within the Workbench folder. The script downloads and extracts an appropriate Java runtime to the existing folder. The Windows launcher and shell scripts automatically use that specific Java runtime.
Alternatively, use your browser to visit the official Oracle Java website.
This method allows you to select a different Java version.
Step 3: PostgreSQL JDBC Plugin
JDBC is a software component that enables Java to interact with the PostgreSQL database. Each database management system requires its JDBC driver. The SQL Workbench/J distribution does not contain the JDBC driver. It’s necessary to download the JDBC plugin manually.
Ubuntu 18.04
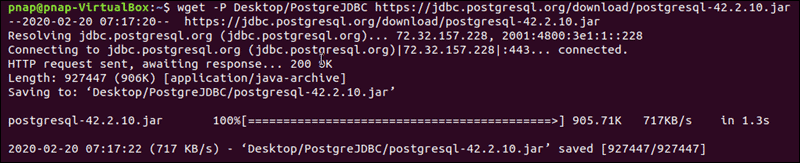
Enter the following command to download the latest drivers and save the postgresql-42.2.10.jar file in a PostgreJDBC folder:
wget -P Desktop/PostgreJDBC https://jdbc.postgresql.org/download/postgresql-42.2.10.jarThe output from the terminal confirms that the file was successfully downloaded and saved.
Windows & macOS
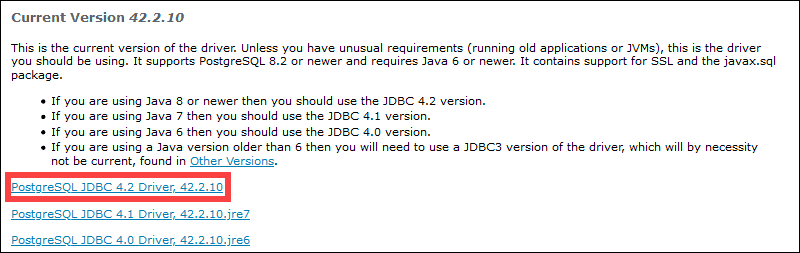
Download the latest driver version by using the provided link.
Download and place the file in a secure folder. No installation is necessary. However, if the file gets accidentally deleted or moved, you are not going to be able to connect to your database with SQL Workbench.
Step 4: Start SQL Workbench
There is no need to install SQL Workbench as it comes as a preconfigured .jar file that can be run in any Java runtime environment.
Ubuntu 18.04
Access the Desktop/Workbench folder and enter the following command in your terminal to initiate the SQL Workbench shell:
sudo sh sqlworkbench.shYou have successfully launched the SQL Workbench command interface. You are now able to create a connection profile.
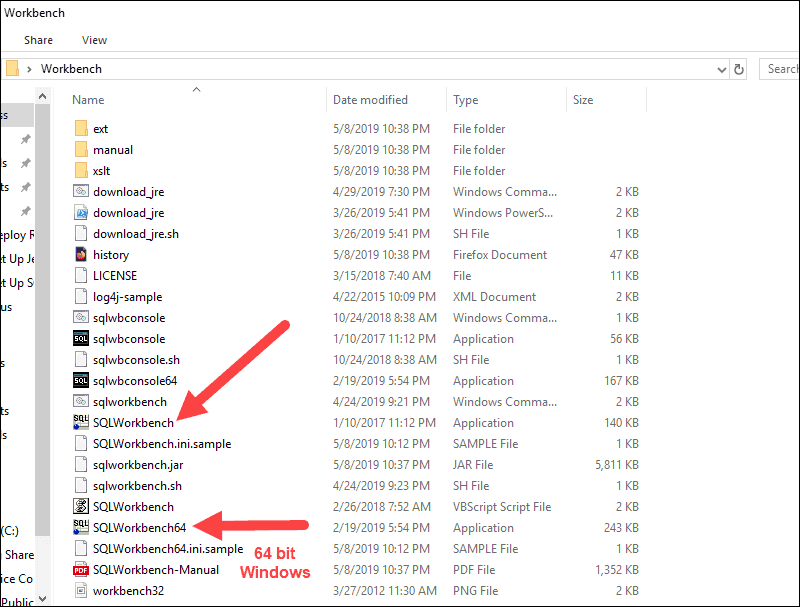
Windows & macOS
Access the Workbench folder and start the SQLWorkbench.exe executable file. If you are using 64-bit Windows start the SQLWorkbench64.exe file.
Step 5: Connect to PostgreSQL Using SQL Workbench
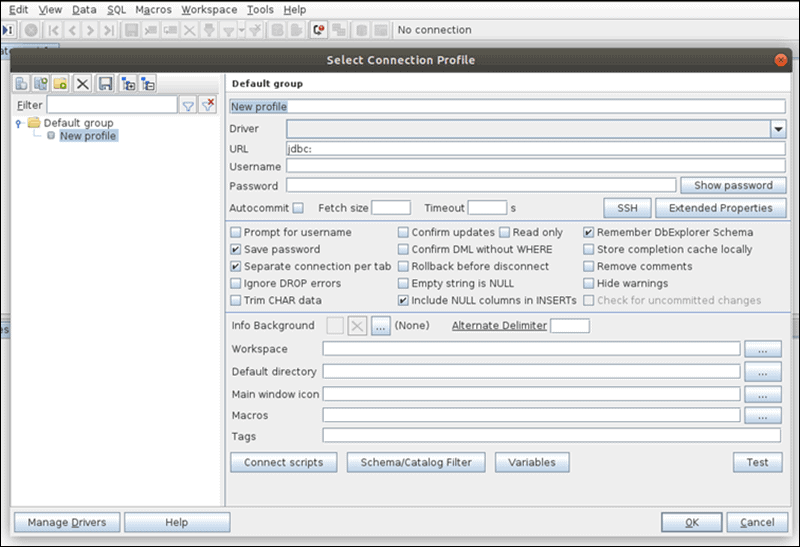
From this point, the SQL Workbench shell has the same functions, regardless of the system, you are running it on. The Select Connection Profile page allows you to define the information necessary to establish a connection to your PostgreSQL server.
1. Define a unique name for the Connection Profile (in the example below: PostgreSQL Connection).
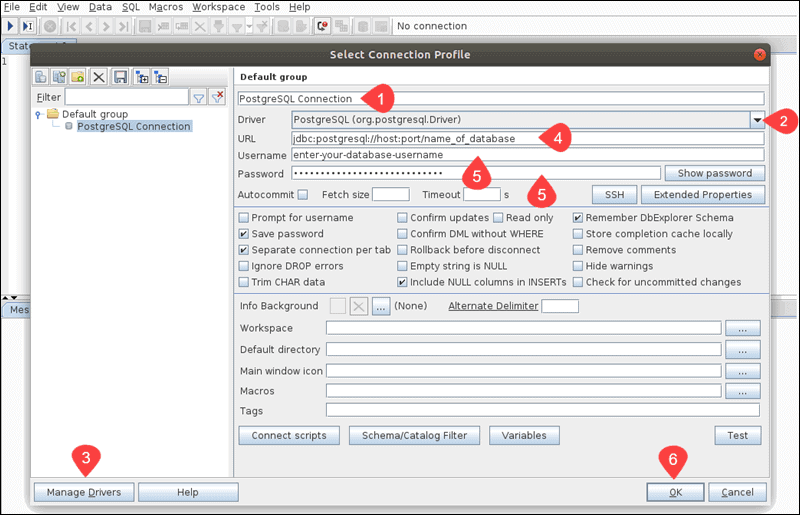
2. Open the Driver drop-down menu and select the PostgreSQL option.
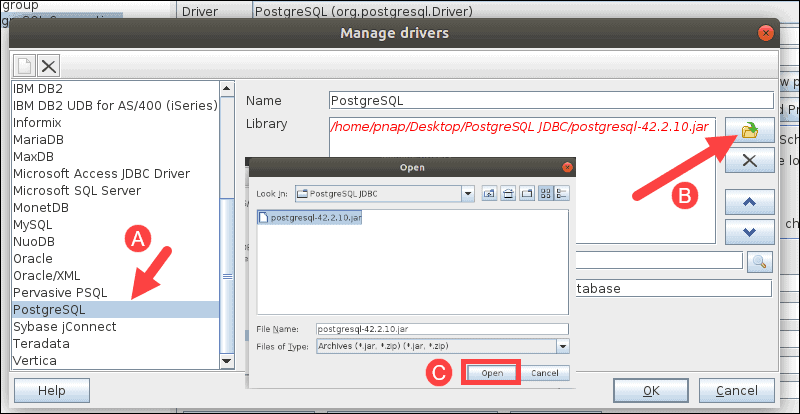
3. Click Manage Drivers and set the precise path to your JDBC PostgreSQL driver.
4. Enter the URL for your PostgreSQL server. The URL should be formatted as follows:
jdbc:postgresql://your.database.server.ip:port.number/name_of_database5. Enter the username and password for your database in their respective fields.
6. Once you enter the details correctly, click OK to establish the connection.
Conclusion
You have successfully connected the SQL Workbench tool to your PostgreSQL server. You can now use it comfortably migrate data between your databases and manage several DBMS without the need to use several concurring interfaces.
